Monday, August 11, 2014

A Day at the Races

(this is a play of the first scenario of DagobahDave's: X-Wing racing)


Team 1 (Mario):
Shadow Squadron TIE Phantom with Mara Jade, Sensor Jammer and Advanced Cloaking Device (38 points)
(moves last, shoots first)

Team 2 (JL):
Blackmoon Squadron E-Wing with R2-D2, Flechette Torpedo and Engine Upgrade (39 points)
(moves first, shoots second)
 
Team 3 (Beni):
Onyx Squadron TIE Defender with Ion Cannon and Engine Upgrade (39 points)
(moves second, shoots last)

(The scene starts with a deafening roar by a huge crowd)

Commentator: And welcome once more to X-Wing Race-3, where some of the youngest pilots of the galaxy will race for a chance to compete in the X-Wing Race-2 competition.
The Ships warm up their thrusters!


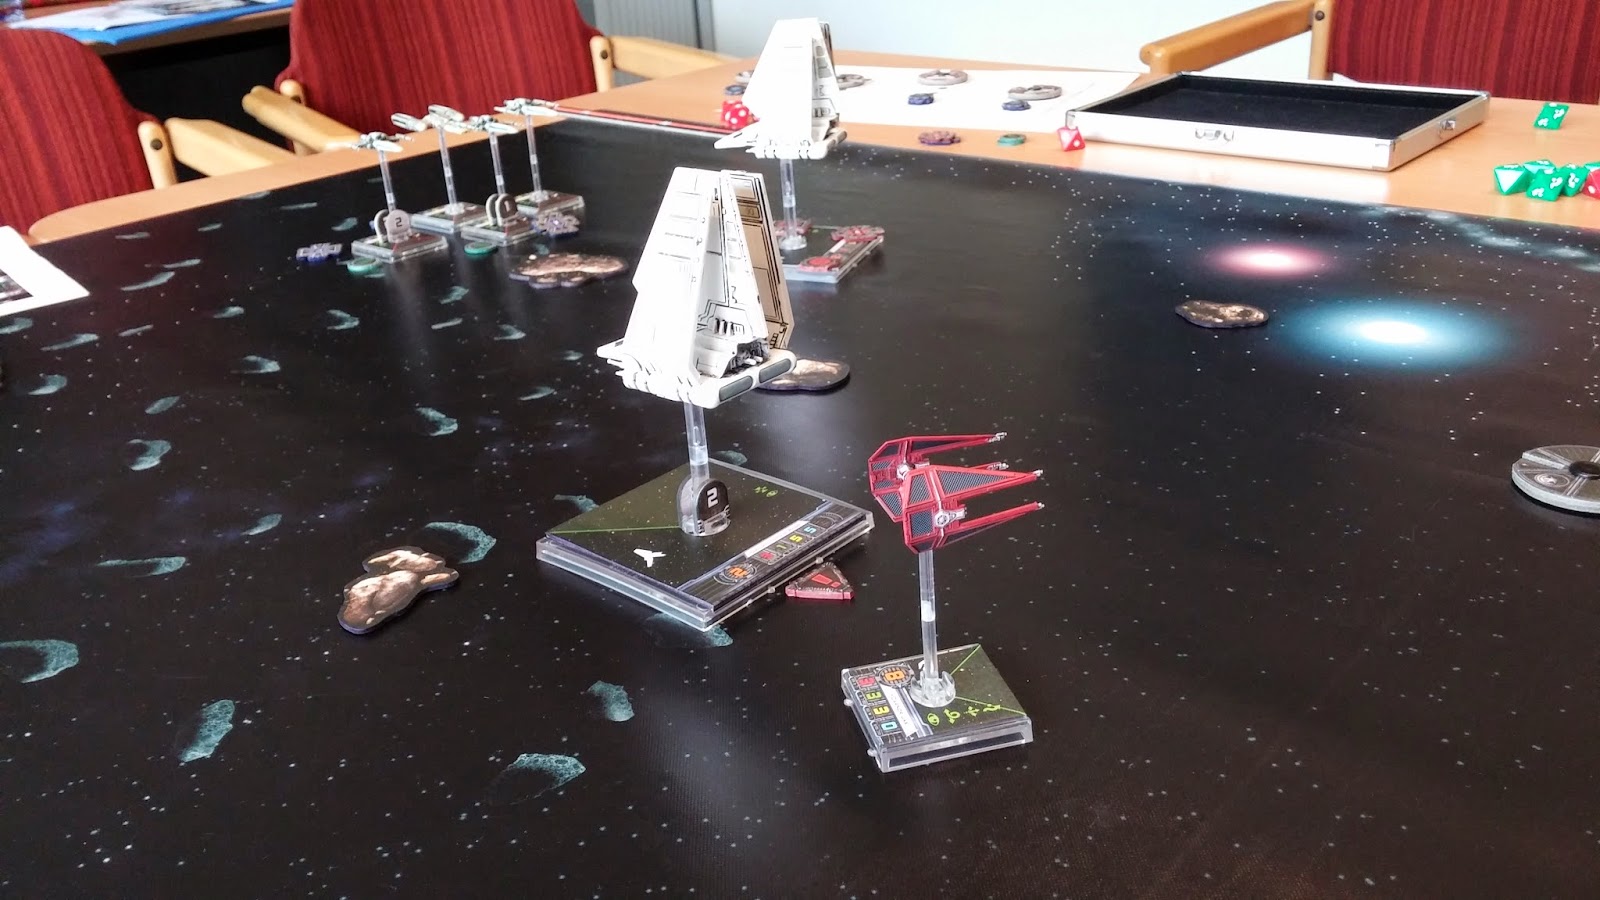
And the race is on! Weapon restrictors are on... Beni's Defender tries to overtake JL's E-Wing while Mara Jade causes Stress to both of them

Beni miscalculated a bit his maneuver but it seems he'll be able to round the first beacon without crashing against the asteroid. Meanwhile, Mario's Phantom starts gaining a bit...

All pilots round the first beacon without any problem... Sirens wail in the stadium! The weapon restrictors are about to be released!


Aaand Mario takes the lead while Beni and JL decide to fall back and try to shoot Mario down... Mario's shields are blown away, and the daring pìlot feels the heat... Destruction seems too close

Mario keeps the lead while JL maneuvers to try to prevent Beni from staying at his 6... Beni shoots Mario again but the shot goes wild!
 (here both the E-Wing and the TIE Defender moved just to the right of the TIE Phantom so that Mario was not able to decloak to his right in order to round the 2nd beacon)
Beni and JL prevent Mario from decloaking on time to round the second beacon and he goes wildly past the asteroid! It seems the Ghost ship has trouble keeping a good position

Both Beni and JL take the 2nd beacon curve at full throttle! JL miscalculates his boost and his ship crushes against the public!... Do not worry, folks, that was the Gungan area of the stadium, so we won't lose much gray matter.

Mario carries out a K-turn maneuver to try to get back into the race while Beni rounds the 2nd beacon... He almost crushes in the same spot JL did!

Beni has a big lead, but Mario's Phantom pulls an amazing stunt - boy, are these Phantoms maneuverable! - and rounds the 2nd beacon in big style

Beni and Mario rush towards the 3rd beacon

Mario pulls a shot on Beni and takes down one of his shields... it seems too little too late, as Beni's Defender rounds the 3rd beacon

TIE Defenders are known for advancing fast in a straight line but having trouble with hard turns, so Beni decides to move in a straight line to get away from Mario's firing arc

And there's a final sprint to the end line in which Beni has a big advantage

Both ships approach the end line at full speed

And Beni finishes first comfortably, although Mario also crosses the line in the same round

Commentator: And that was all for today, folks. Stay tuned for future races and the incoming X-Race 1!


(disclaimer) in the making of this photoshoot only some Gungans were damaged... they seem to be recovering well from their ordeal: the advantage of having thick skulls and little gray matter.

Sunday, August 10, 2014

Dogfight: Shuttles vs. Z-95s

After finishing the Evacuation from Hoth campaign, Beni and I decided to play a standard dogfight in order to try out the new ships.


I wanted to try the new Z-95s, and so created a list heavy with them. I thought both Airen and Dutch Vander would combine very well with cheaper Z-95s, because they would be able to give them Target Locks, even if they moved first, and thus using them as missile platforms would be a possibility. Originally, I thought about using 3 Bandit Z-95s, but then I was forced to use Concussion Missiles, and as I was very interested in trying the Homing Missiles for the first time, I changed my list and used two Tala Squadrons Z-95s. That had also the positive advantage of allowing me to also equip my Z-95s with the Munitions Failsafe upgrade.


Rebels (100 points) (played by JL)
- Airen Cracken with Homing Missiles, Predator and Munitions Failsafe (28points)

- Dutch Vander with R2-D2, Flechette Torpedoes and Ion Cannon Turret (34points)
- Tala Squadron Z-95 with Homing Missiles and Munitions Failsafe (19x2=38 points)

Beni wanted to try out the Shuttles. He created a list to prevent the enemy from easily hitting the Shuttles and to remove any maneuverability flexibility by adding Stress tokens. Carnor Jax was there to prevent enemy ships from using Focus tokens, a very good combination idea with the Sensor Jammers.


Imperials (100 points) (played by Beni)
- Carnor Jax with Outmaneuver and Stealth Device (32 points)
- Omicron Groups Shuttle with Sensor Jammer, Recon Specialist, Tactician and Engine Upgrade x2 (34x2= 68 points)


Setup and first maneuvers

Beni won the Initiative in the throw and positioned the asteroids. He placed them quite well, making it difficult for me to block the movement of his Shuttles. He topped it by placing both Shuttles in his middle of the board, so that I had no easy way to try and outnumber one of his Shuttles.

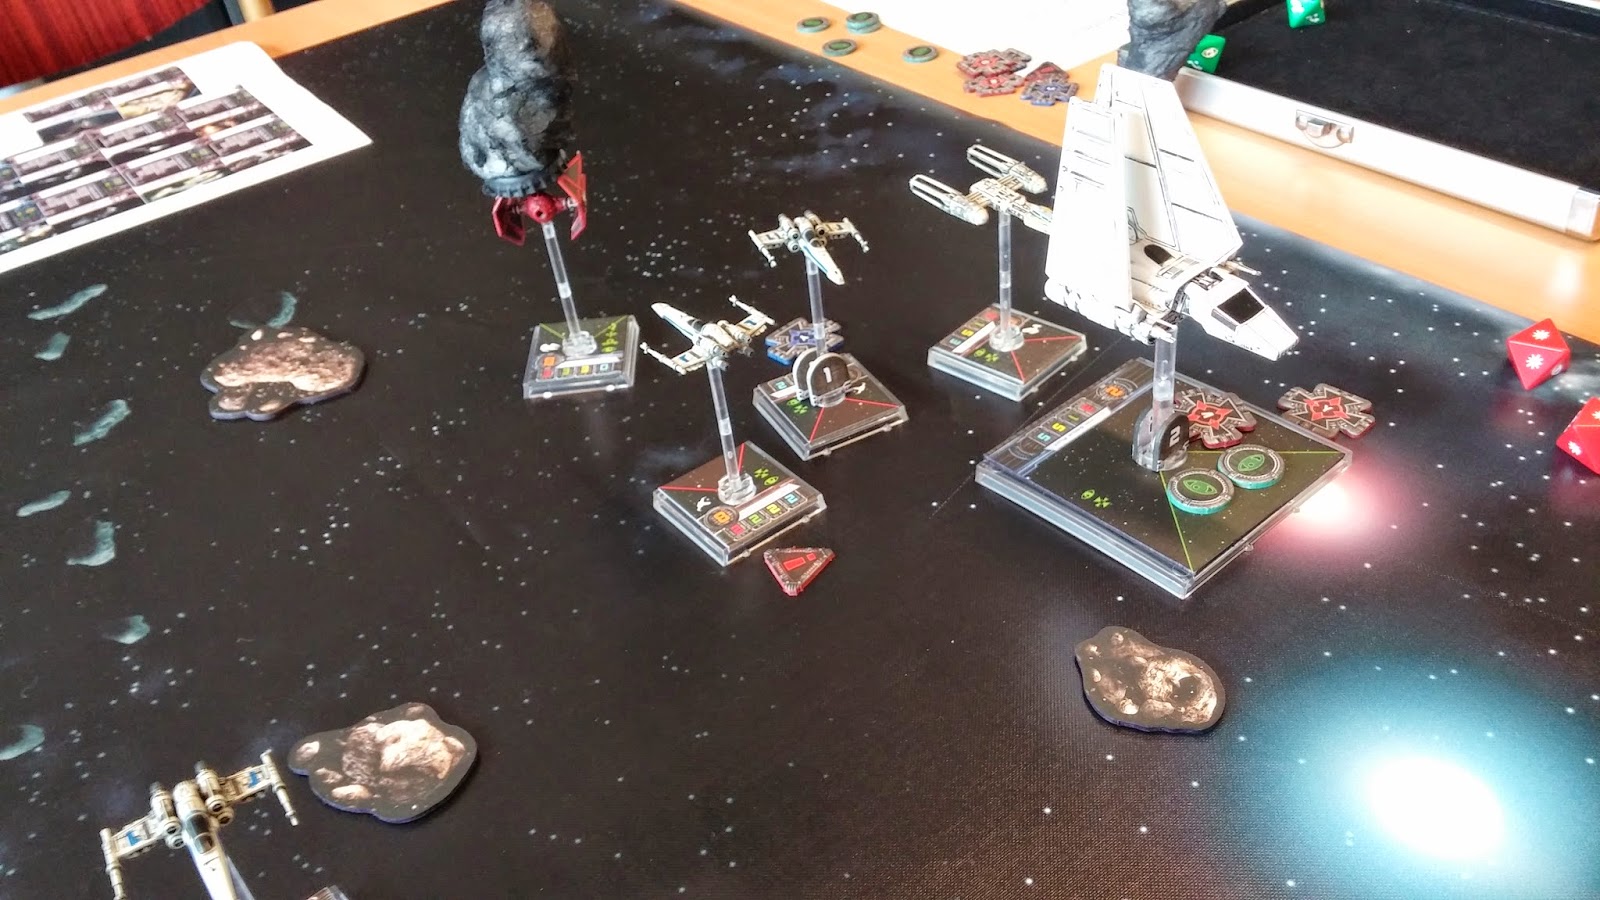
The Shuttles approach the compact Rebel group along two lanes left by the asteroids

Surprisingly, for me, Beni kept Carnor Jax in the back... I suppose Carnor wanted to show off his red ship to the spectators and spent his first 2-3 turns slaloming about asteroids and the Shuttles.
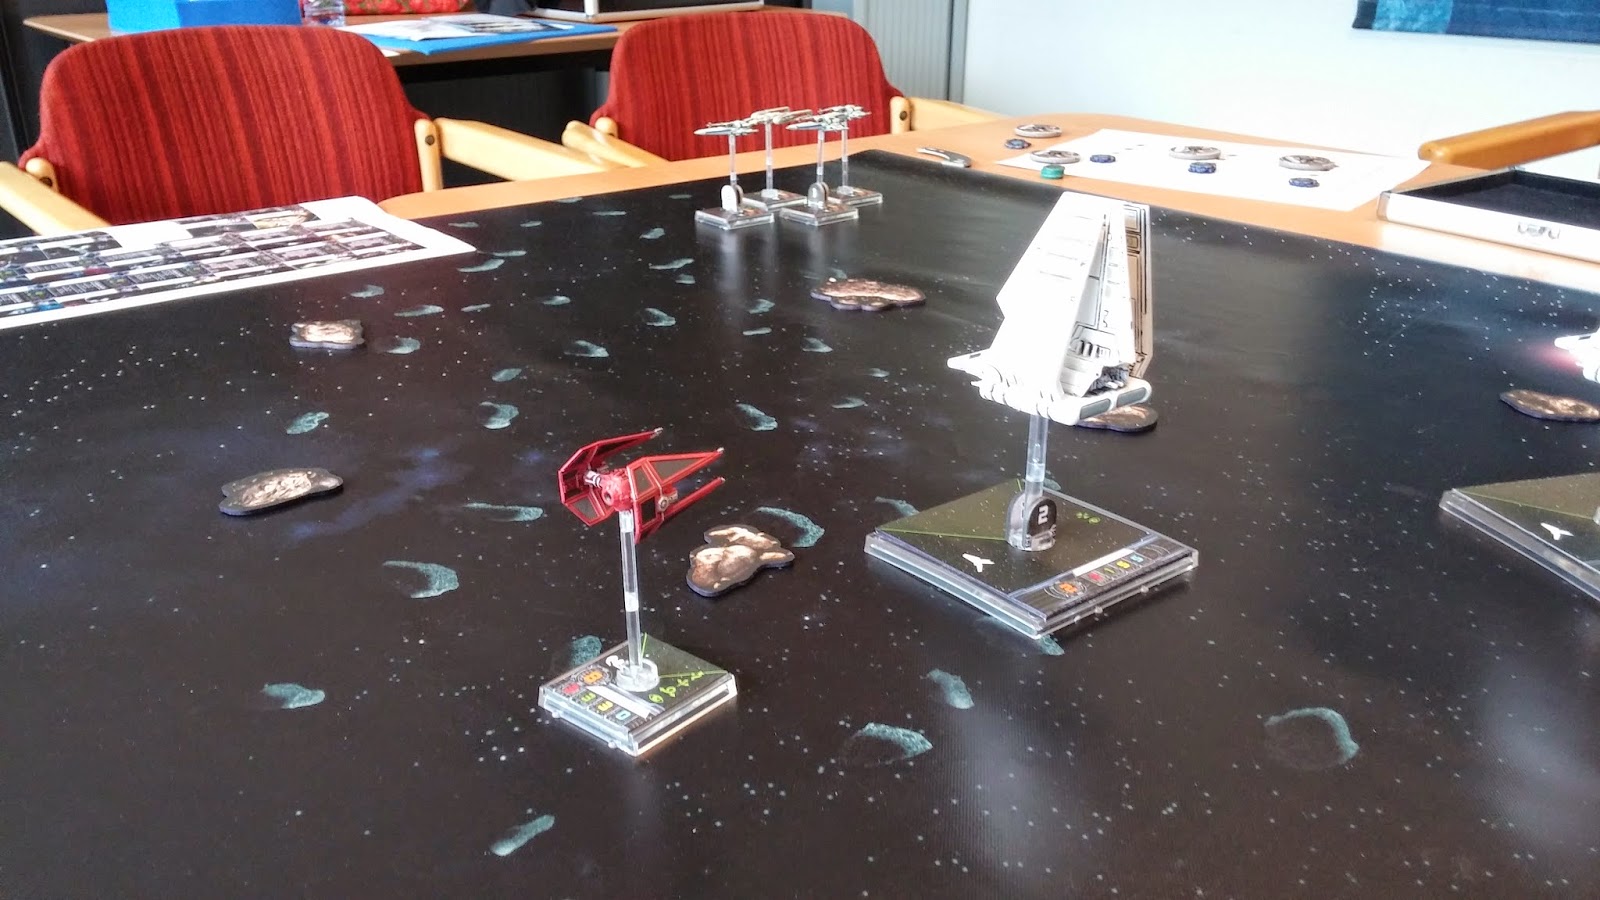
Meanwhile, Carnor Jax tries his red ship by slaloming along the board...

In the meantime, I feinted with a maneuver of my squadron to the right...
The Rebel squadron stays in compact formation and seems to be approaching the Imperial ships around the asteroid to their left
 ... and then I changed directions to try to surprise Beni... It worked perfectly! On top of that, Beni, who thought I was going to be more or less in the center of the board, executed a pincer maneuver and stopped his central Shuttle while accelerating with the one to his right flank.
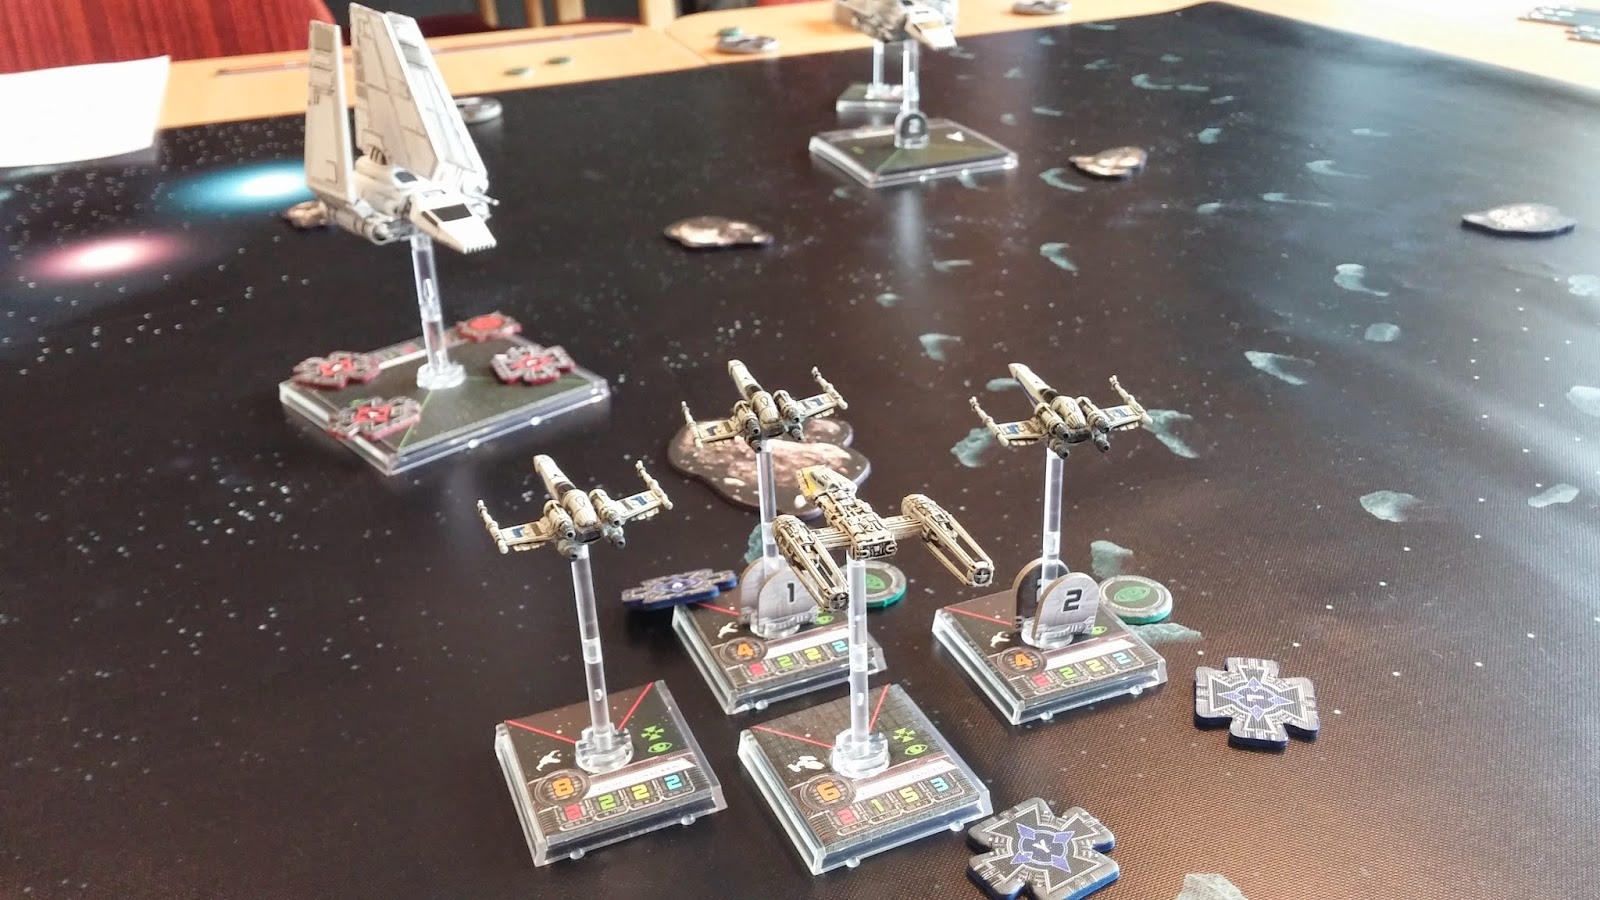
We have him in our sights!

Meanwhil, Carnor keeps smiling to a particularly interesting blonde in the public...

First Blood

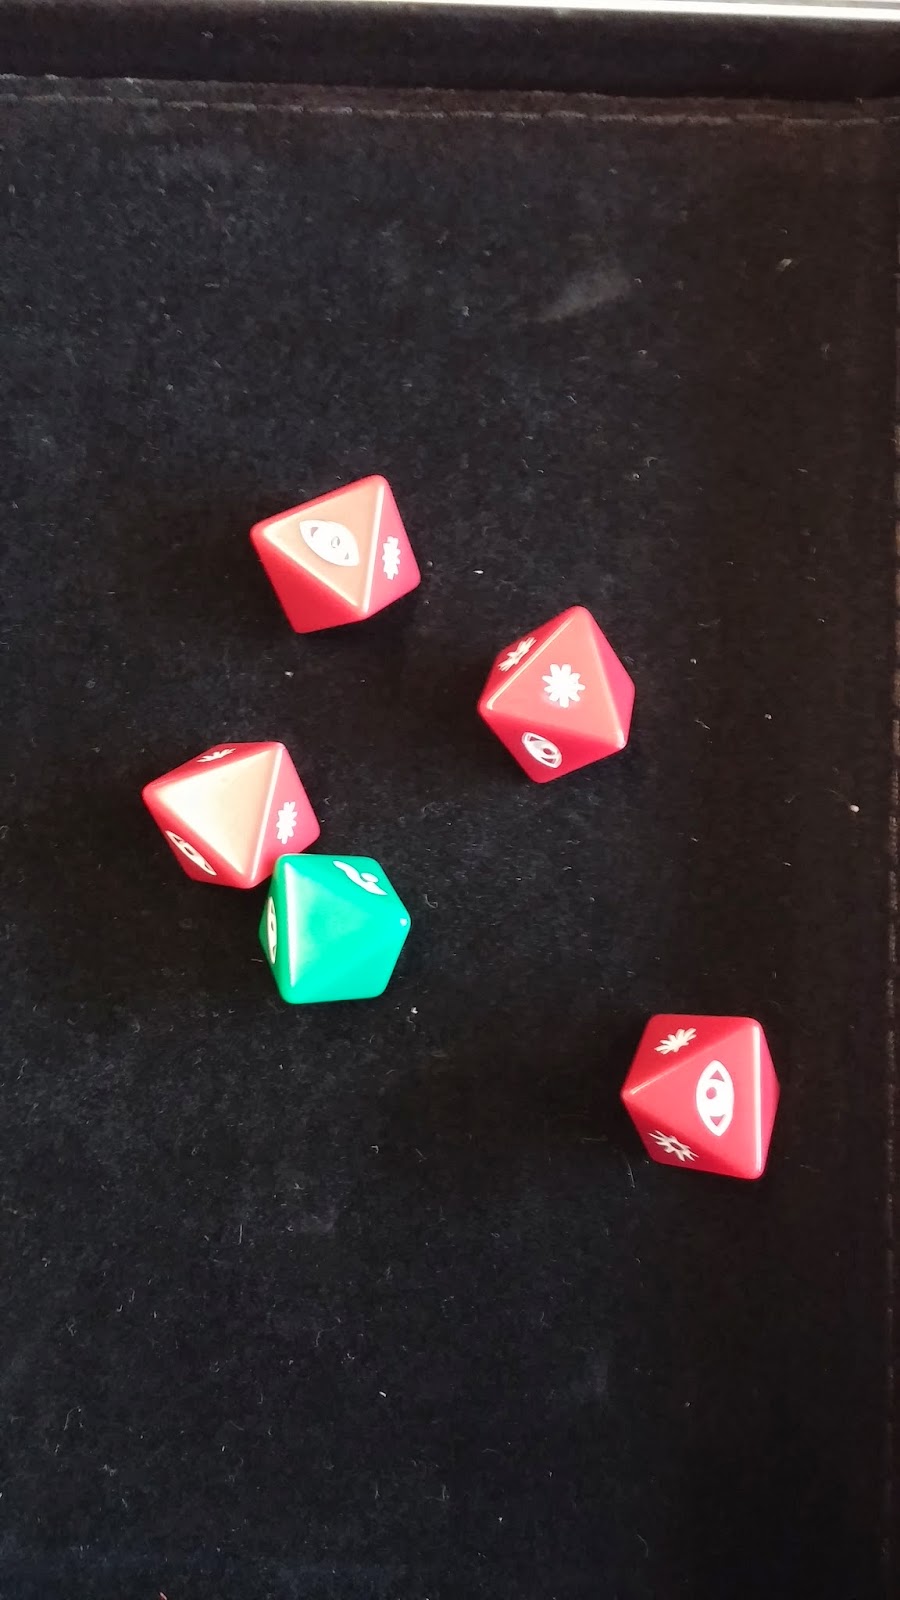
Thanks to Airen and Dutch Vander, both Tala Z-95s shot with Target Lock and Focus... This (and being shot with 3 Homing Missiles and the Y-Wing Ion Cannon) was too much for the Shuttle, which exploded after receiving so much incoming damage (a total of 11 damage out of a possible maximum of 13... Focus+Target Lock is almost equal to maximum damage). The Sensor Jammer of the Shuttle only prevented one damage from the initial Airen's attack.

The missile gang does not joke!

Dogfight

Things became quite messy. I had to avoid the asteroid and divided my squadron, while Carnor realized there was something going on and approached the battle...
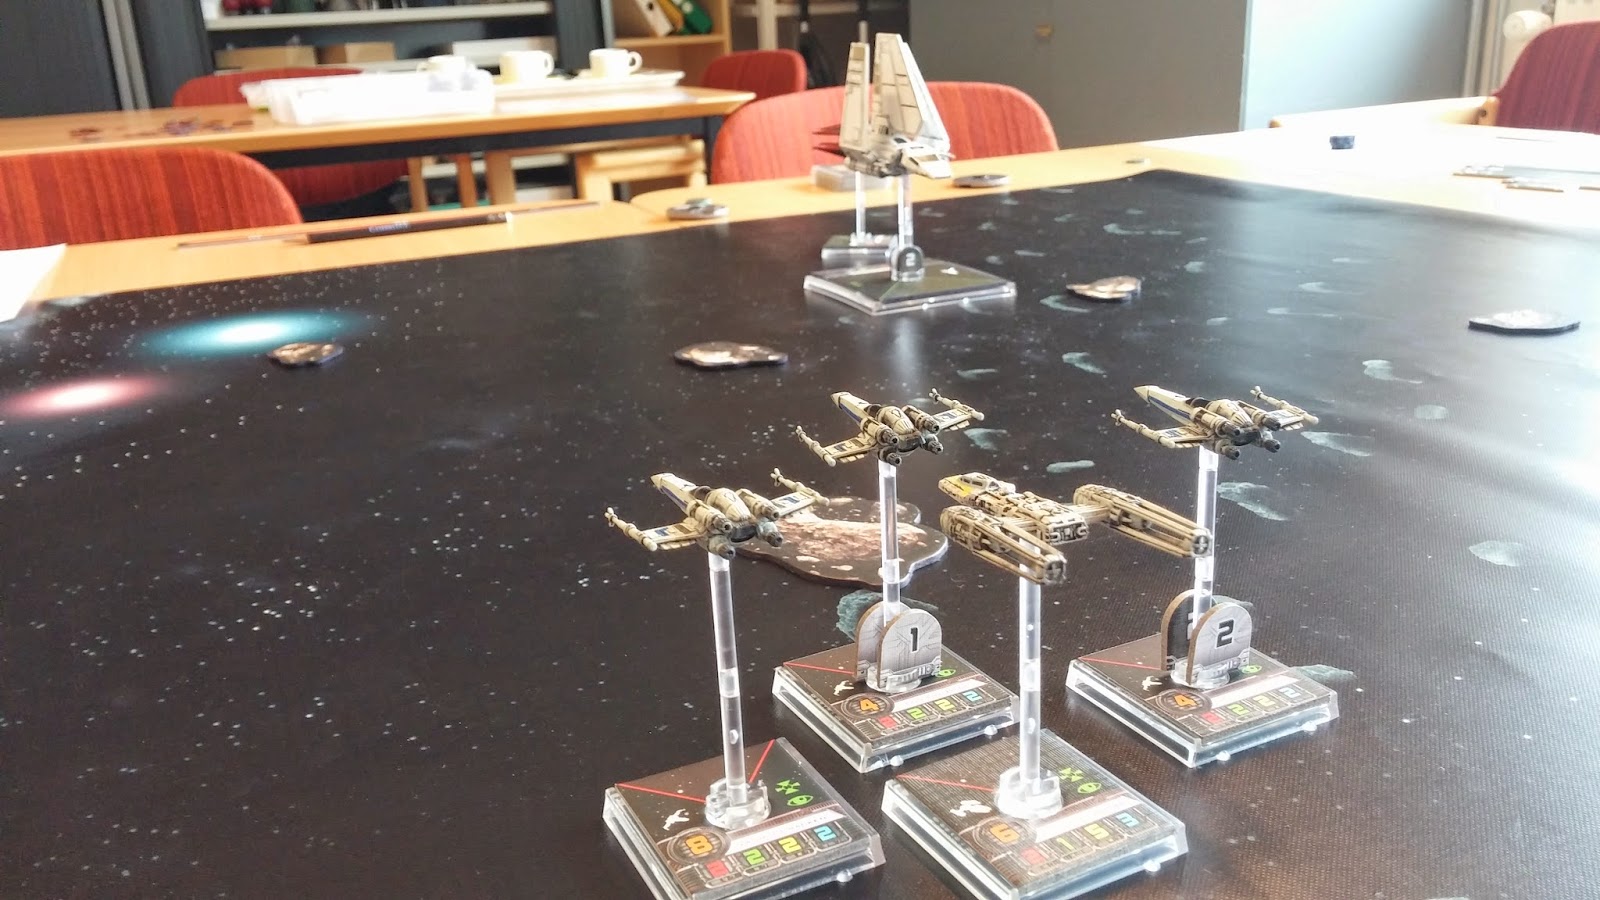
Big rock ahead!


Beni used the Tactician upgrade for the first time and almost one shot one of the Tala Z-95s.
And I started slowly piling damage on the Shuttle... death by thousand paper cuts, they call it.
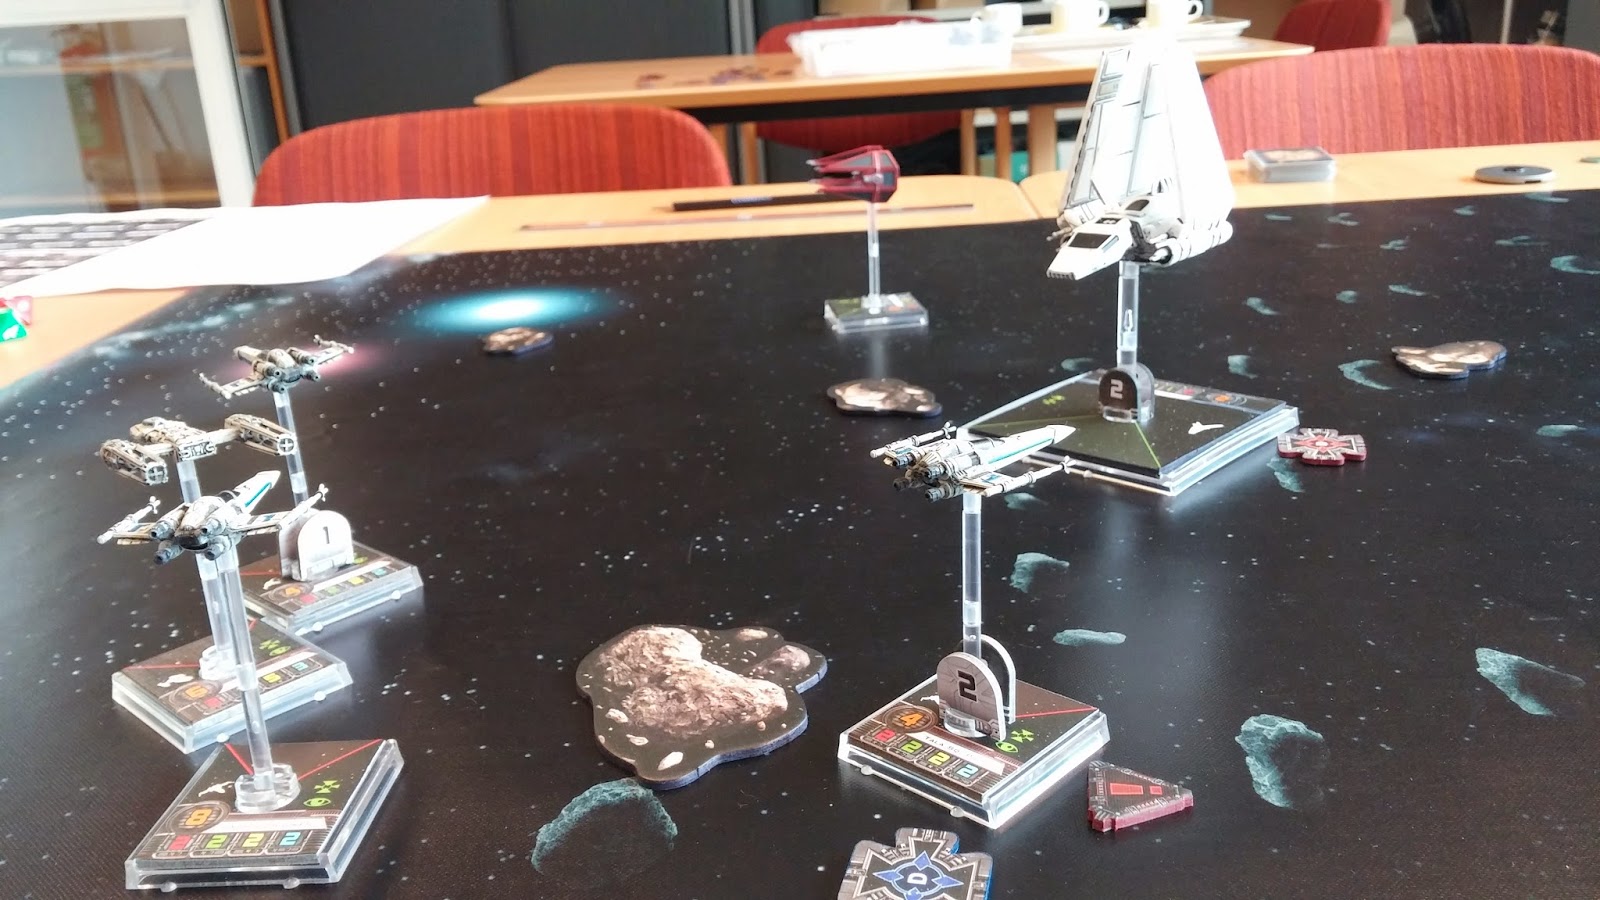
That Shuttle looks scary once you have no more missiles!
 Some expert maneuvering on Beni's part allowed him to block all my ships, and gave Carnor a chance to use his Predator upgrade... Welcome to the fight, Carnor!
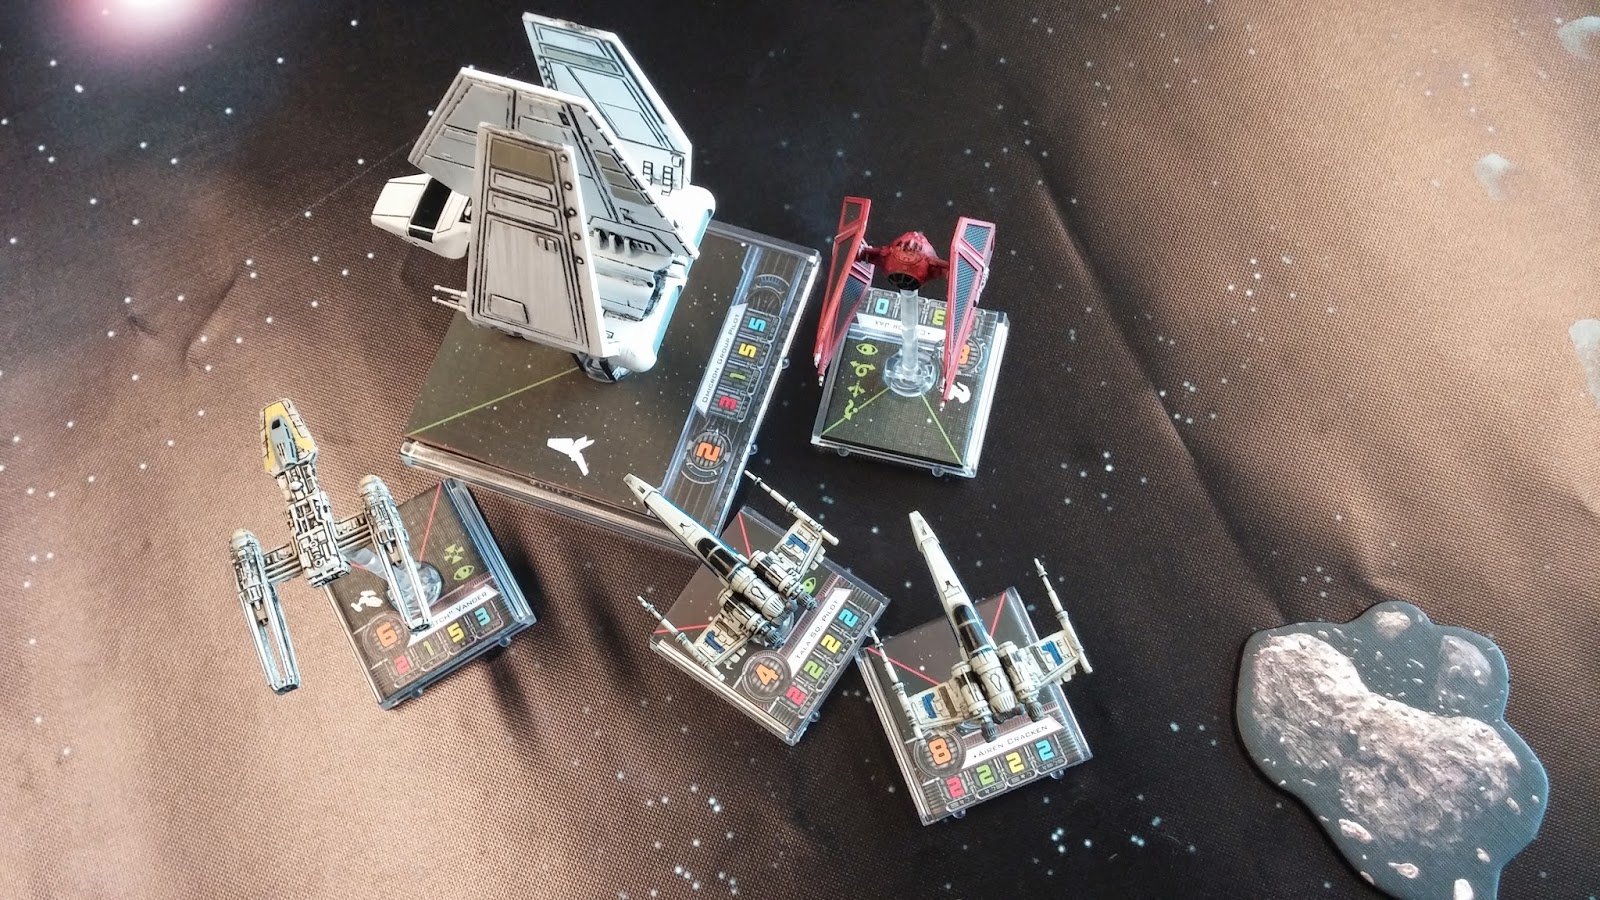
After a boost, Carnor has one of the Z-95s right where he wants...

Unfortunately for Carnor, his mind was still on the blonde, and he did not shoot too well, even though the Z-95's defense had been downgraded
 The fight's result seemed now very clear, and on top of that I managed to ionize Carnor with Dutch Vander while adding some extra damage on the Shuttle with Airen.
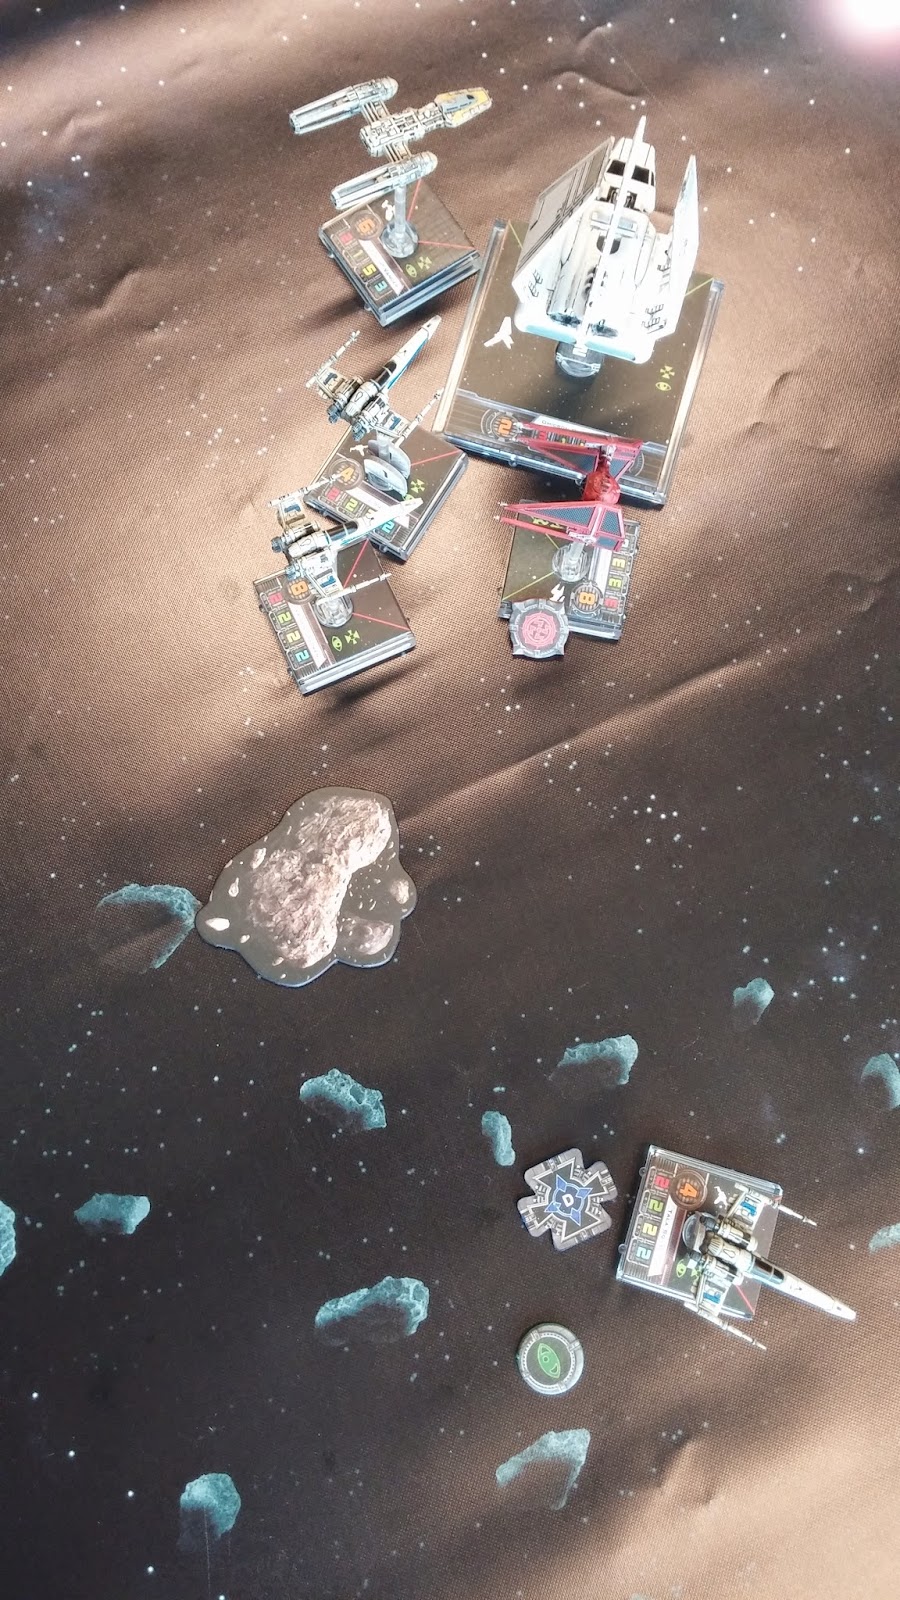
Dutch Vander ionizes Carnor
 Even though Beni made the Shuttle stop, I just kept behind him and blocking Carnor's path... Still, I realized he now could shoot on Airen... it looked dangerous, although with 4 attack dice against 2 defense, chances of him destroying Airen in one hit looked low.
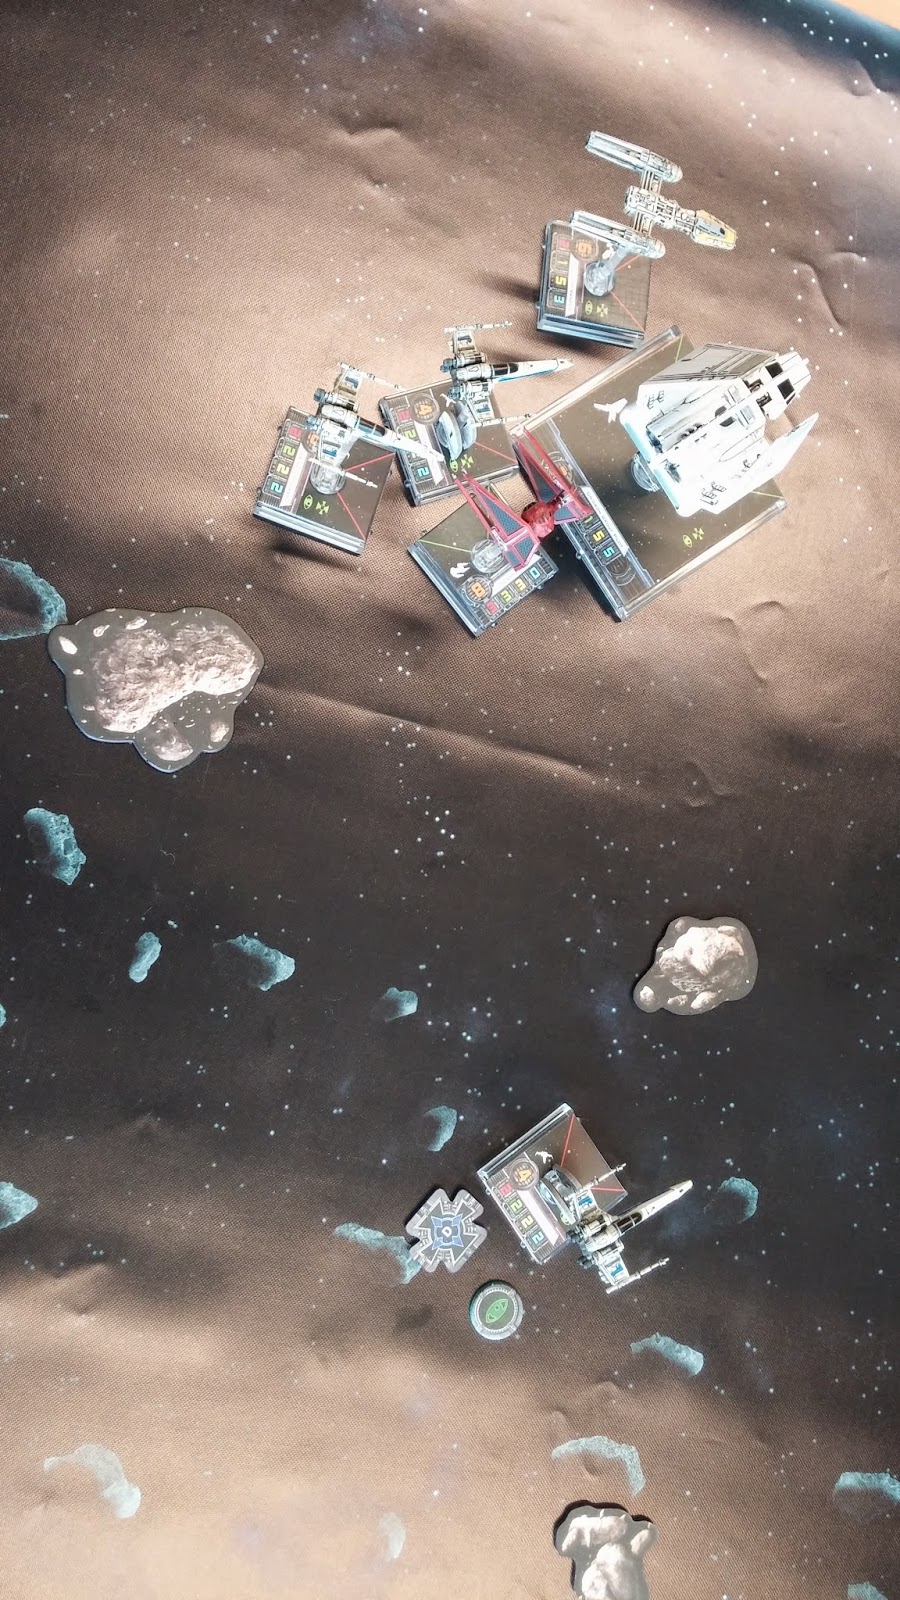
The melee goes on...
 Carnor piled two damage on Airen and was ionized again...
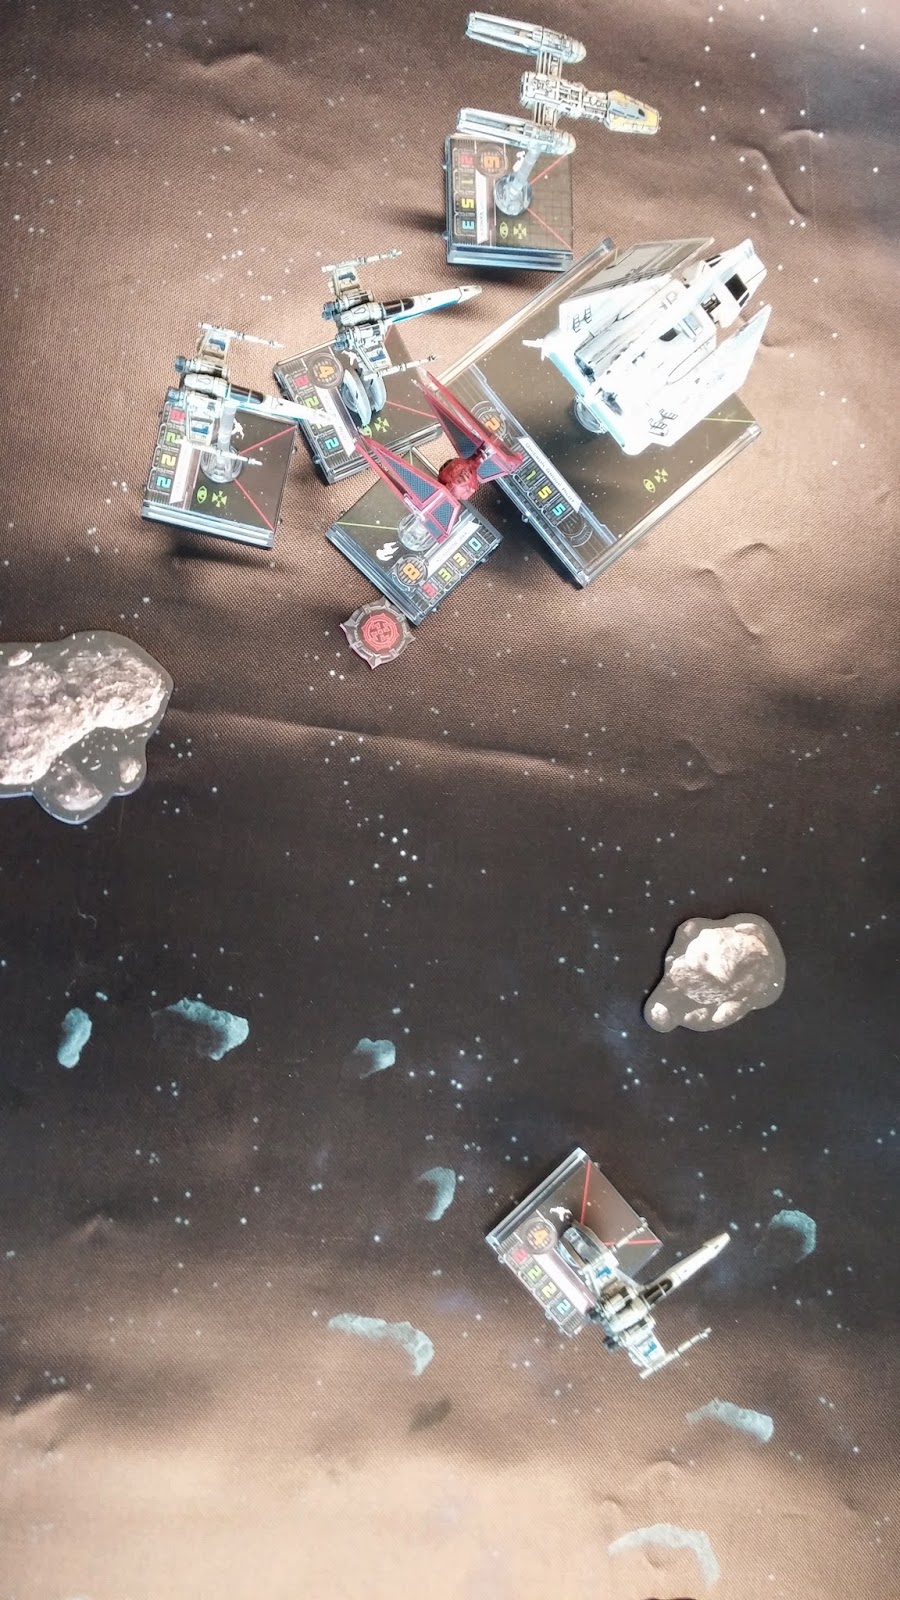
And Carnor becomes ionized a second time
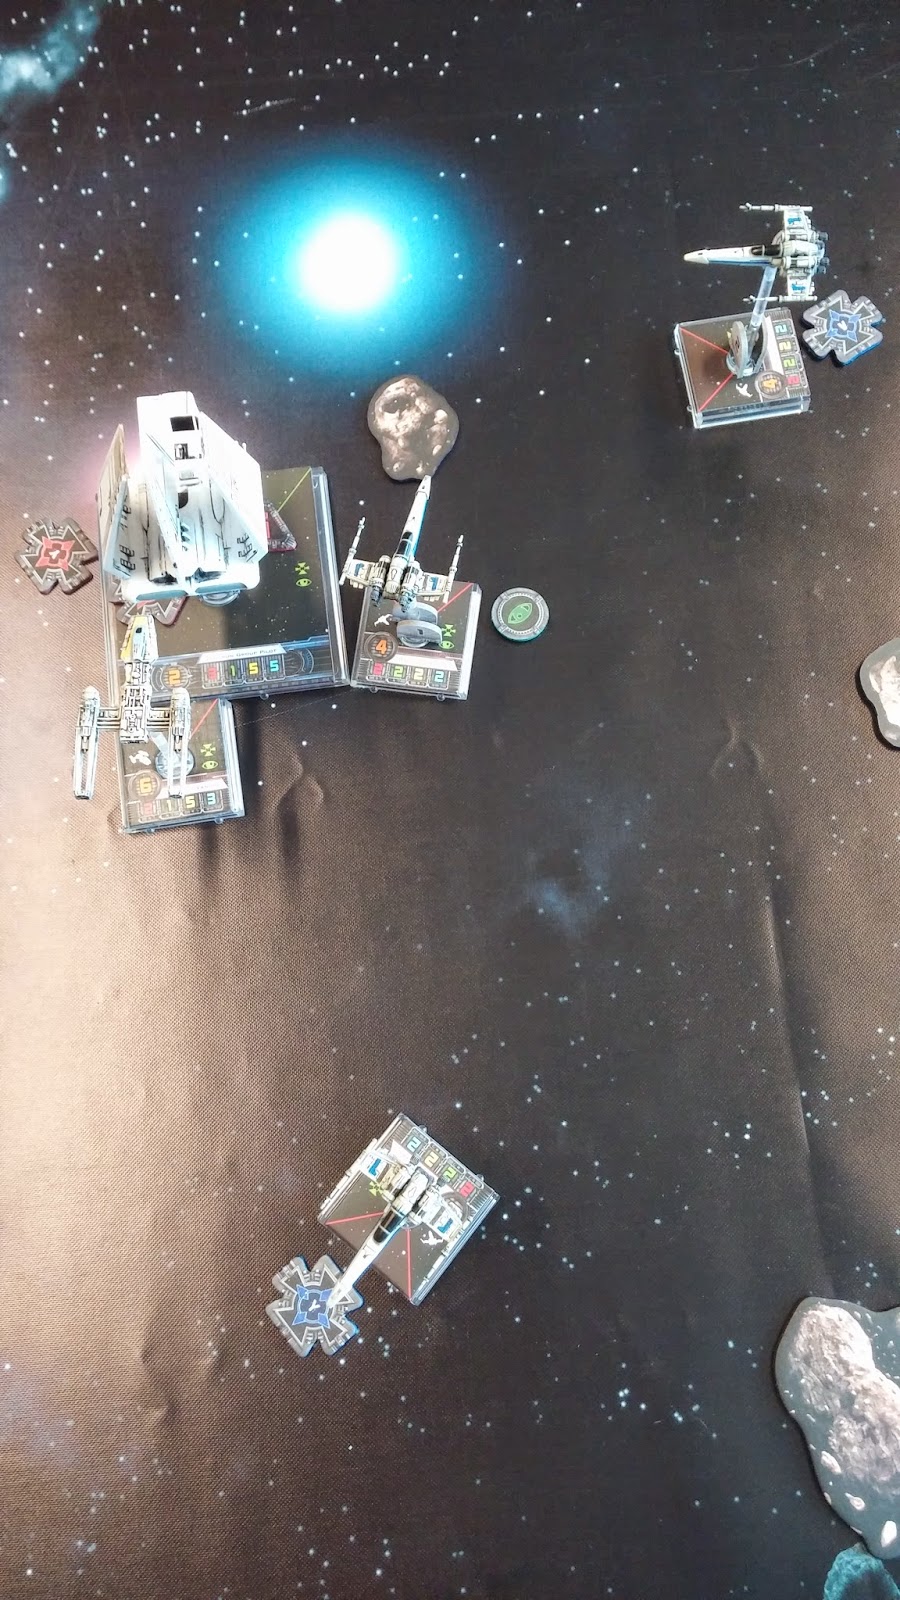
My last maneuver was quite easy, I let the Shuttle coast in front of me and K-turned with Airen to finish Carnor.
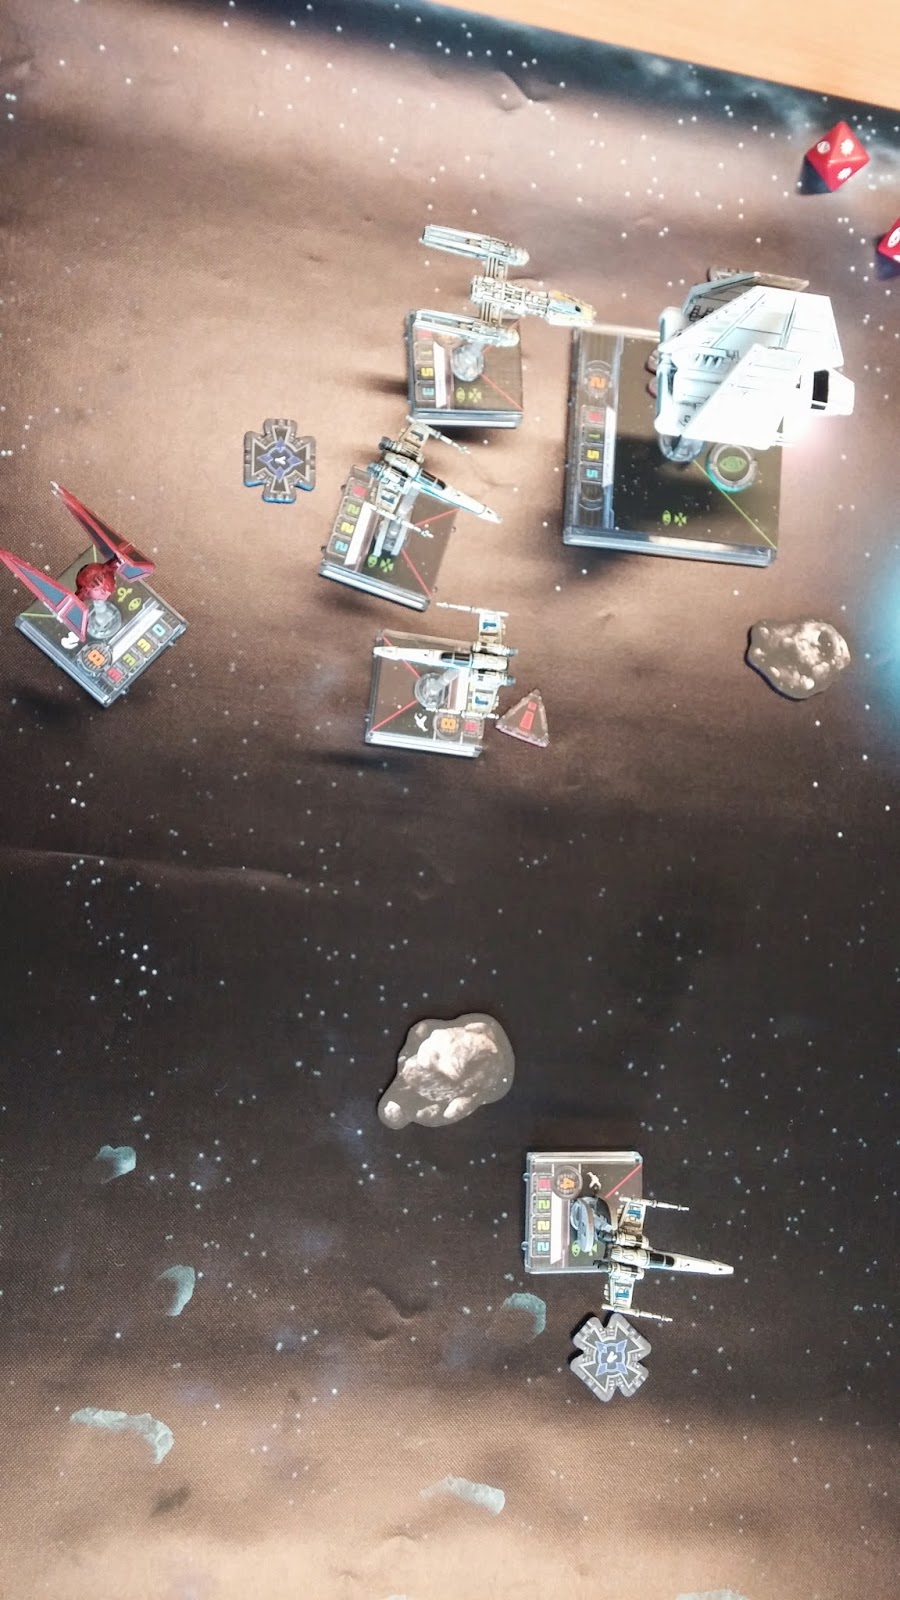
All Imperials have now Rebel ships on their 6

Airen deals the last point of damage to Carnor

and the Shuttle survived one more turn
 
The last hit on the Shuttle was obtained by the damaged Tala Z-95

I think the battle was decided when Beni fell for my feint, specially considering that he maneuvered in a way that left one of his Shuttles stranded against my whole squadron with no support from his other ships... Also, Carnor arrived very late to the fight and his Focus-blocking ability, which would have worked great with the Sensor Jammers, was not used enough.

Then main tactical idea to get from this dogfight is that you should always try to have your ships in positions in which they can support each other, so that the enemy won't get easy free attacks without you being able to respond in some way.

Saturday, August 2, 2014

Evacuation of Hoth, Mission 3

Mission H3 - Asteroid Gauntlet

(third part of FFG's Evacuation of Hoth campaign)

Rebels (GR-75 with Combat Retrofit and 125 points) (played by JL)
- GR-75 with Combat Retrofit, Dutyfree and WED-15 Repair Droid (44 points)

- YT-1300: Han Solo with Homing Missiles, Chewbacca and Gunner (60 points)
- Gold Squadron Y-Wing with R2 Astromech and Ion Cannon Turret (24 points)
- 2x Rookie X-Wing (2x21 = 42 points)

Imperials (125 points) (played by Beni)
- Soontir Fel with Push the Limit and Targeting Computer (32 points)
- 2x Scimitar Squadron TIE Bomber with 2 Cluster Missiles each (24x2= 48 points)
- Scimitar Squadron TIE Bomber with Cluster Missiles (20 points)
- Tempest Squadron TIE Advanced with Cluster Missiles (25 points)


(the scene starts with the GR-75 and its weakened escort squadron approaching an asteroid field. Camera shows the bridge of the GR-75)

GR-75 Captain: It looks like we are almost out of the system. Navigators, start preparing the jump to hyperspace.


Radar operator: Captain, we have incoming Imperial ships surrounding us! It's a traap


Evacuation of Hoth, Mission 2

Mission H2 - Blockade Run

(second part of FFG's Evacuation of Hoth campaign)

Rebels (GR-75 with Combat Retrofit and 140 points) (played by JL)
- GR-75 with Combat Retrofit, Dutyfree, WED-15 Repair Droid, Frequency Jammer and Backup Shield Generator (51 points); started with Damaged Stabilizers card

- YT-1300: Han Solo with Marksmanship, Homing Missiles, Chewbacca and Gunner (63 points)
- Grey Squadron Y-Wing with Ion Cannon Turret (25 points)
- Gold Squadron Y-Wing with Ion Cannon Turret (23 points)
- Red Squadron X-Wing (23 points)

Imperials (200 points) (played by Beni)
- Initial Group: 2x Tempest Squadron TIE Advanced with Cluster Missiles (25x2= 50 points)
- Group A: 2x Scimitar Squadron TIE Bomber with 2 Cluster Missiles each (24x2= 48 points)
- Group B: Storm Squadron TIE Advanced with Cluster Missiles (27 points)
- Group C: 2x Scimitar Squadron TIE Bomber with 2 Cluster Missiles each (24x2= 48 points) 
- Group D: Storm Squadron TIE Advanced with Cluster Missiles (27 points)


(the scene starts in a briefing room in the Rebel base in Hoth)

Rebellion Officer: well, it seems our decoy Transport group worked perfectly and has attracted most of the Imperial heat... We'll send our main Transport group in a few minutes on a trajectory almost opposite to that of the decoy Transport... I hope you all slept well, ladies...


(some minutes later)

Trooper Cartman Zherooh: Unidentified GR-75, you are exiting a blockaded system. Following order 34890 of Emperor Palpatine, you are hereby requested to stop the vessel and prepare for boarding and a customs check... uum, they are not stopping...they are coming directly at us!

Trooper Kenny Jax Junior: Yes, they are not stopping! Let's light up that bastard!


Two TIE Advanced charge the GR-75 head on while its escorts flanks them

The Y-Wings attack the flank of the approaching TIE Advanced

The TIE Advanced launch their cluster missiles on the reinforced front section of the GR-75 without causing much damage, and one of them is ionized by the Y-Wing escorts
Trooper Cartman Zherooh: Evasive maneuvers!

Trooper Kenny Jax Junior: I can't! My controls are not reponding! (mumbling to himself) I think I'm having a dejà vu... (a big explosion and Kenny Junior goes straight to Jedi Other World)

Trooper Cartman Zherooh: Bastards! They killed Kenny Junior! Frigate South Garden, please send reinforcements! A GR-75 transport is trying to break the blockade... they are shooting at us!


Only one of the TIE Advanced dodges the incoming GR-75 which crushes and destroys the other TIE Advanced. Meanwhile, two TIE Bombers approach the back of the Transport and are met by the Han Solo and his YT-1300.


The GR-75 jams both TIE Bombers preventing them from gaining Target Locks and shooting missiles at the Transport. Han Solo starts piling damage on the Bombers.

Meanwhile, the Y-Wings ionize the Bombers to make their mission even more difficult


Frigate South Garden: That Rebel scum is trying to escape the planet! Turbolaser batteries: fire on the transport!

Trooper Cartman Zherooh: Wait! I'm still in the line of fire!

TIE Advanced 1 receives the last point of damage from Turbolaser fire... One would call this friendly fire, but there are no friends in the Imperial Navy


Meanwhile, one of the Bombers has managed to launch one of its missiles against the Transport, but both are assaulted by Ion Blast fire from the planet and fire from the GR-75 escorts


Han blows up one of the Bombers

And the Y-Wings take care of the last Bomber
Sergeant Stan Nilar: Well, let's see what these two no-gooders are doing. They activated again the distress signal; I guess they got drunk again... Wait, what's that? Those Y-Wings look dangerous...

A lonely TIE Advanced tries to approach the GR-75

and is quickly blown to pieces

Two more Bombers are sent from the Frigate group and decide to maintain a bit the distance

They wait until one last TIE Advanced also joins the battle

The TIE Advanced dodges the X-Wing escort

The Imperials try a desperate last attack, but they have very little time left

The last Imperial ships get entangled with the Rebel escorts, and the Transport makes its escape


Tactical Comments

This battle was quite easy for me playing the Rebels. Beni tried again a list based on Bombers and Cluster Missiles, which is very scary against a GR-75 with its 0 Agility, but he decided to directly attack the GR-75 with each of his reinforcements instead of waiting for 2-3 groups to join forces and do a more dangerous attack on the GR-75.

This meant that I was able to pick his ships one by one and always had a big numerical advantage.
Also, because Beni did not attack the escorts, I was able to keep all my firepower until the end. Finally, causing 2-3 damage per turn against the GR-75 is not enough, because it can easily recover 2-3 shields per turn.

About my tactics, I liked the effect of the Y-Wings and their Ion Turrets. I think they denied the Imperial ships a lot of their mobility and they were the cause for the demise of one of the first TIE Advanced that attacked the Transport.

Finally, the Heavy Bombardment tokens added an extra level of tactics to the mission. I liked them very much and I think I'll probably use this mechanics to change a bit the Frigate Fire mechanics I designed for the 4th mission of my Pirates' Run campaign.

All in all, a very nice mission, even though our battle was an easy Rebel win.